 WaveSmith
Home / Guides / How to finish a podcast episode (LUFS and MP3)
How to finish a podcast episode (LUFS and MP3)

A podcast file is a conversation that has to survive earbuds. Record locally, clean it, hit a number, deliver MP3.
Finish the episode, not just the take
How to record audio on Windows stops when the meter stops. This page is what happens next: punch-in the flub, run Process → Podcast chain, read LUFS on the HUD, export an MP3 the host will accept, and keep a WAV master beside it. −16 LUFS is a common podcast starting point, −14 streaming, −23 broadcast — starting points, not laws. True-peak ceiling exists so a codec does not add a surprise clip.
Split a long interview on silence into tabs when the room gave you gaps, or mark chapters yourself. Export by markers if the CMS wants one file per chapter. De-ess and de-breath live in Process next to the chain so repair is not mixed into a mystery Enhance control.
Do not upload the only take
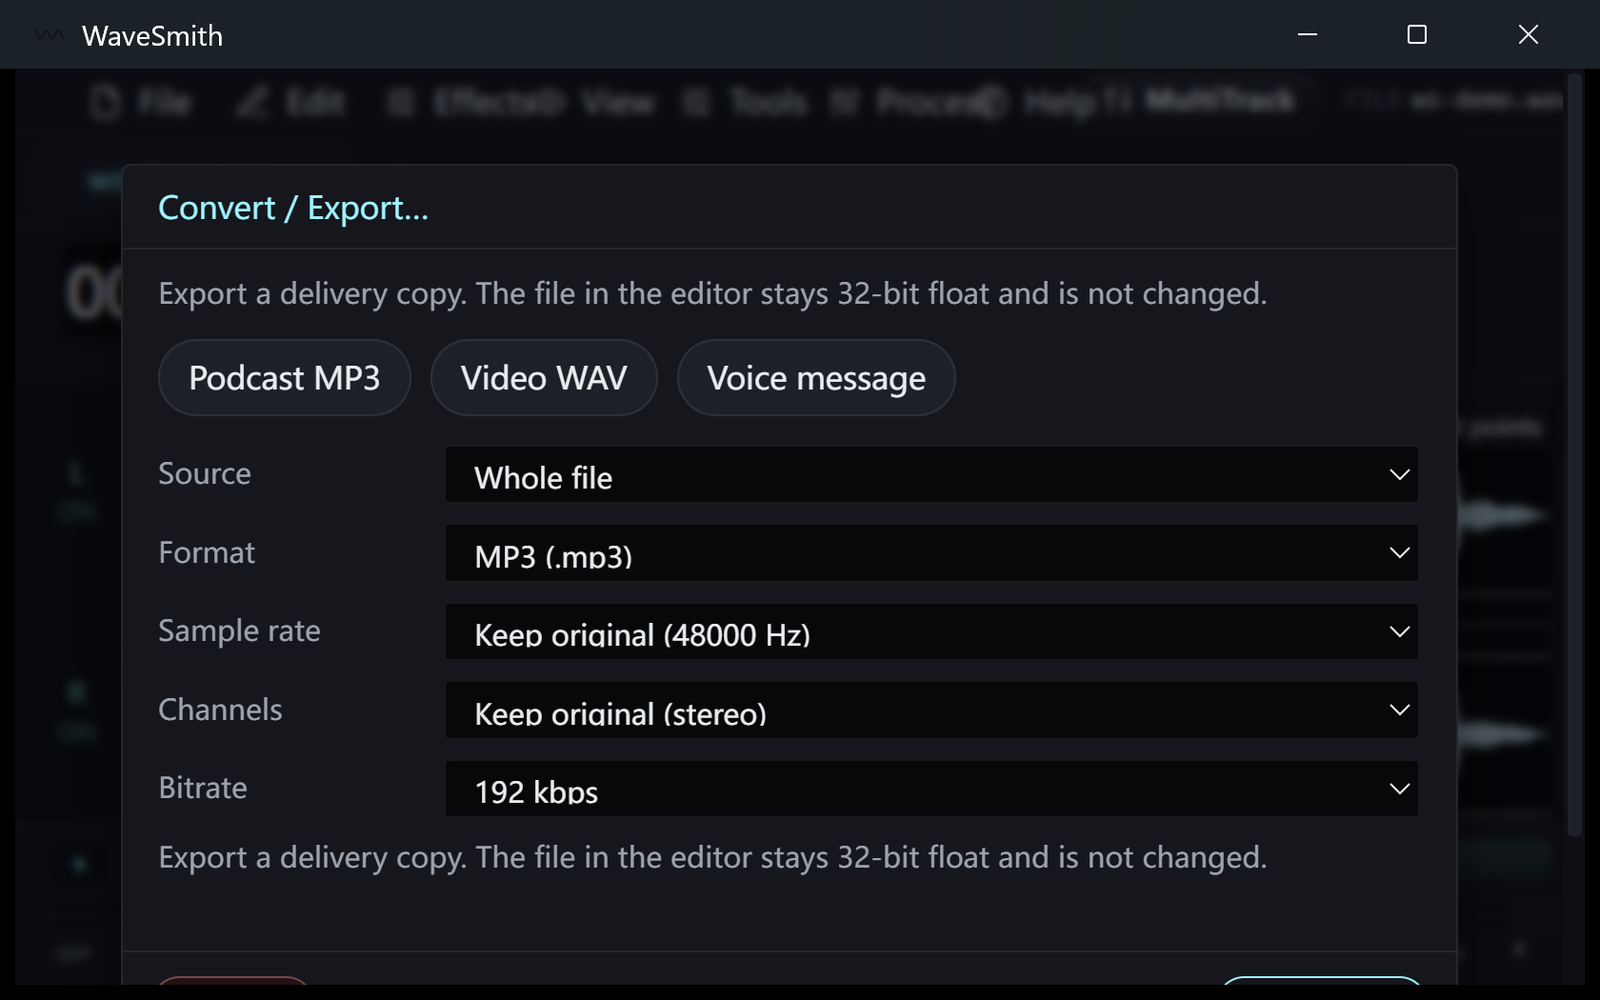
Convert/Export a podcast MP3 copy. Leave the float session so a host change next month is a re-export, not a panic. If peak looks hot on the HUD, fix it before the copy. History names each pass if the chain was proud.
Two-host shows often arrive as two files. Open both, align on a clap or a count-in, then either concatenate if they are serial or keep them in tabs while you cut each side. The podcast chain after a messy overlap will chew both voices; clean the overlap first. LUFS last, export MP3, keep WAV.
Two files, one number, one MP3
A two-host dump often arrives as two WAVs. Open both. Align on a clap or a count-in. Concatenate if they are serial; keep tabs if you will cut each side. Clean overlaps before the podcast chain — the chain will chew both voices if you let a messy cross-talk through. LUFS last. Export MP3. Keep WAV. Replace only this episode in the CMS if last week was already fine. Do not “fix” an already-encoded MP3 with a limiter until the meter matches and the voice is cardboard.
How to record audio on Windows is the WASAPI take. This page assumes the take exists and you need a host-shaped file: chapters, LUFS, MP3, no surprise limiter. Split by silence only when the room actually left gaps; otherwise markers. Name files with a date so next month’s you can find episode 14.
If the floor is a fridge, leave this page and open How to remove background noise first. LUFS on a noisy take just makes a louder fridge. If the words hide, EQ is How to add audio effects — after the floor is quiet.
Chapters, CMS, and the file you keep
After LUFS, export MP3 with a date in the filename. Upload that copy. Keep the WAV or the .wsmith next to it. If episode 12 was already accepted, do not re-export 1–11 because you discovered a new preset. Split chapters with markers you named, not with a shy silence threshold that cuts inside words. Two-host overlap gets cleaned before the chain. The WASAPI take itself is the other guide.
How to do it in WaveSmith
Tools → Record. Mic for voice; mix if you need the call playback too.
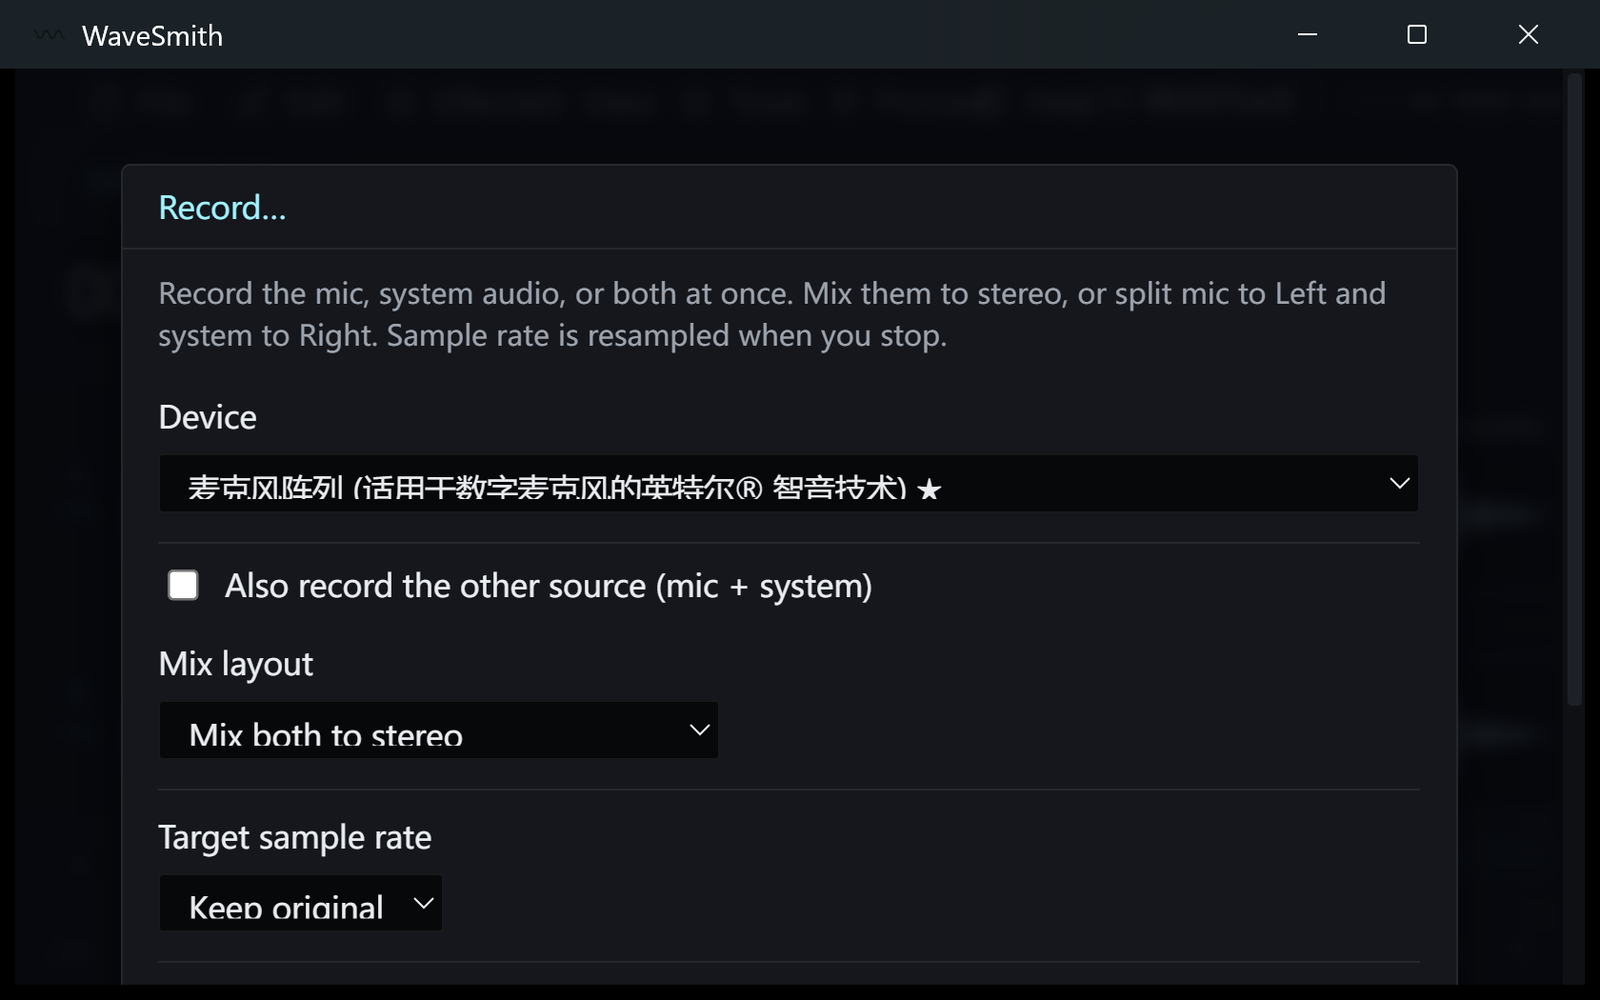
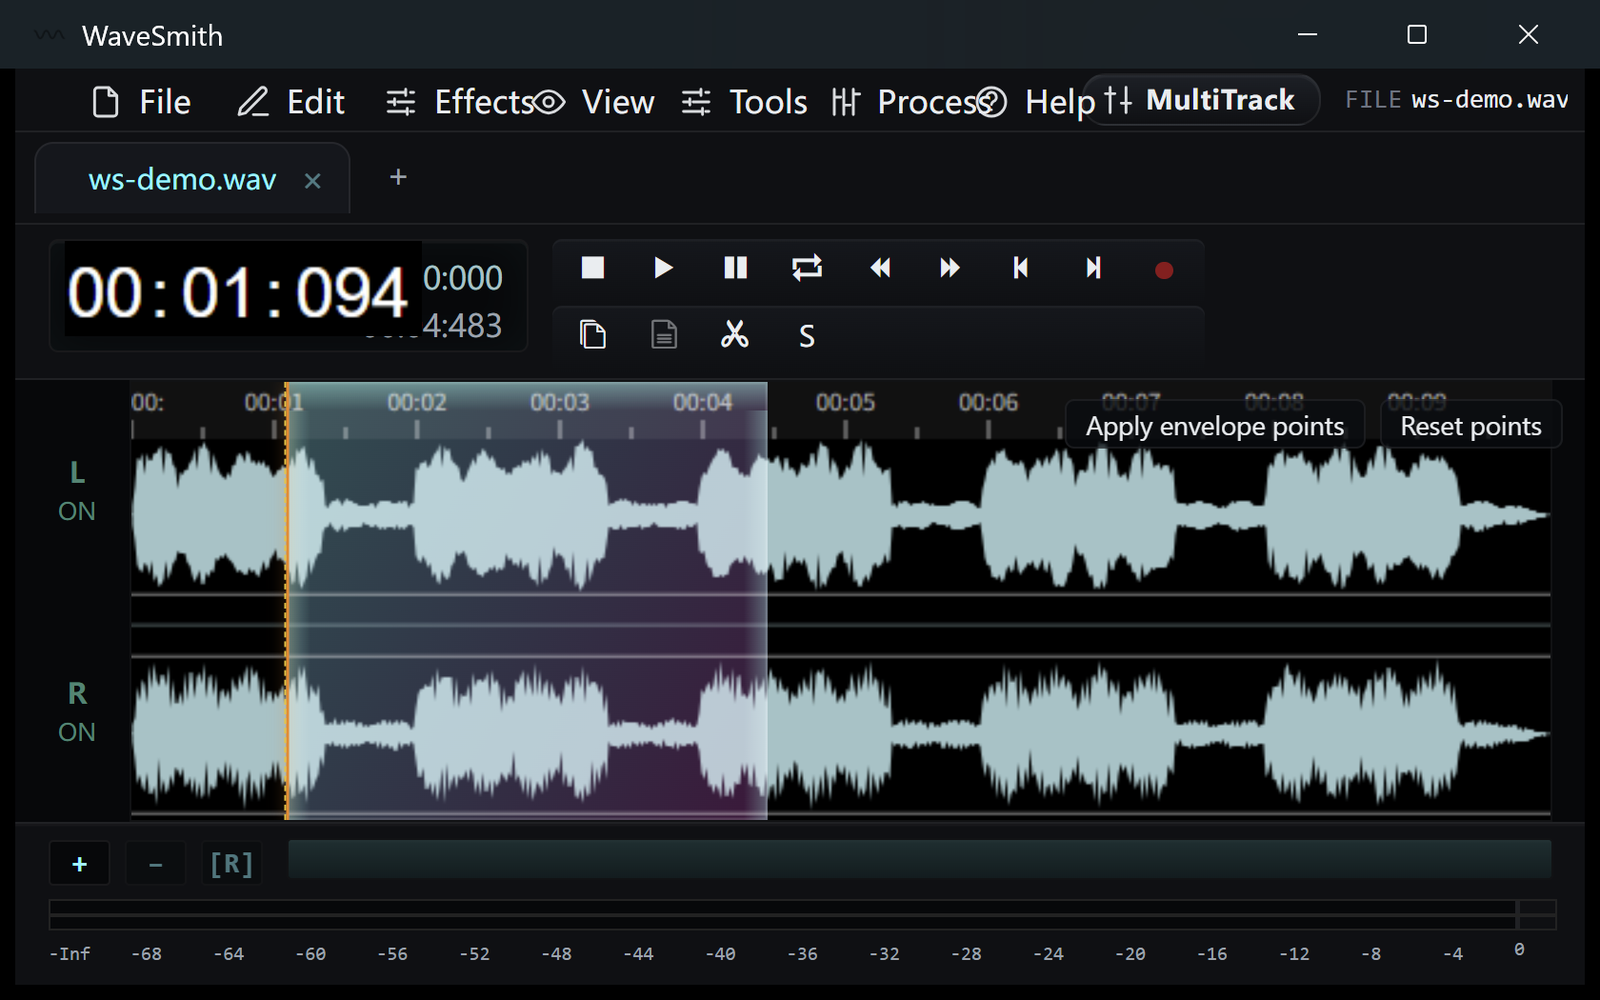
Step 1 Punch-in bad sentences. Process → podcast chain and LUFS (−16 is common).
Step 2 Convert/Export podcast MP3. Keep a WAV master beside it.
Step 3


Ready? Download the Windows installer.
Related
Install it. Open a file. Feel the difference.
Free Windows 64-bit installer. WaveSmith 1.1.0. Your audio does not go to our servers — we do not have a place to put it.
Download WaveSmith free